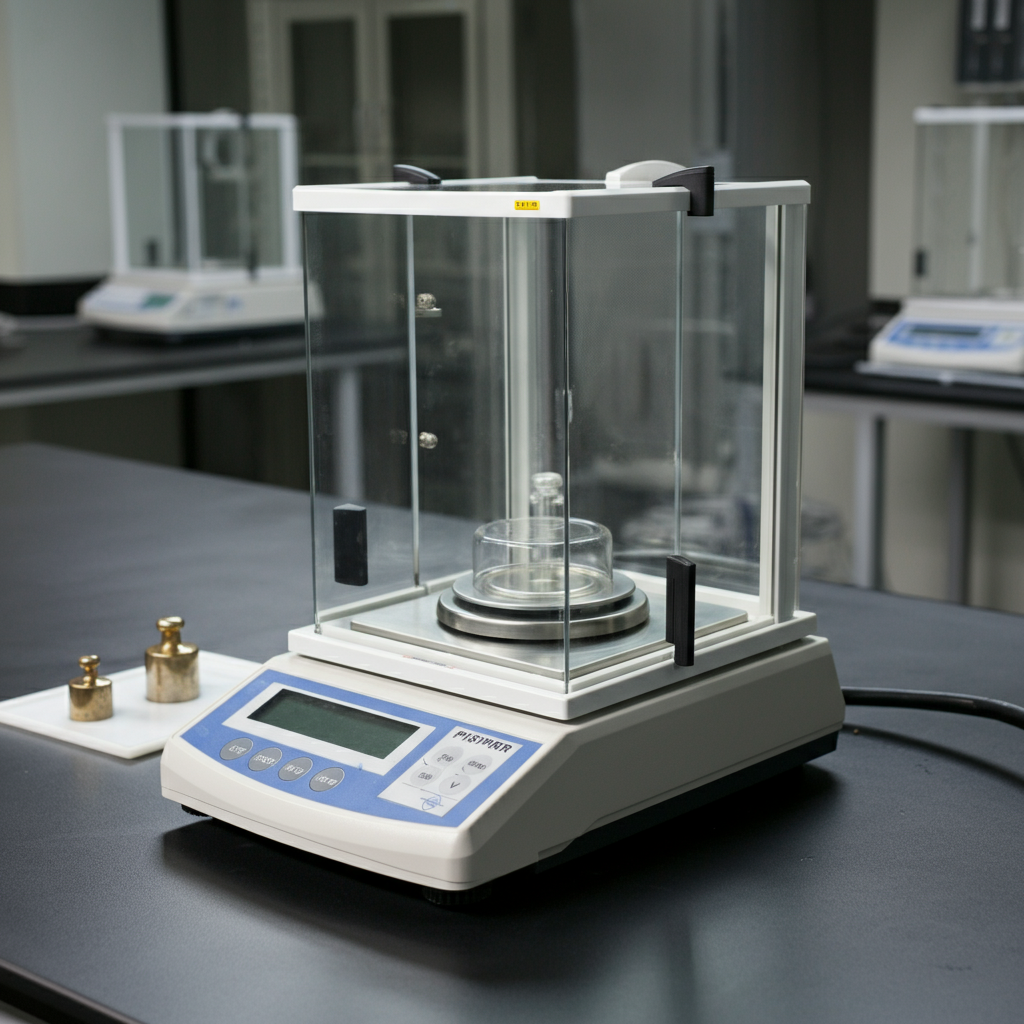
Calibration plays a vital role in maintaining the accuracy and reliability of an analytical balance. Proper calibration ensures that the instrument provides precise measurements, a necessity for critical applications in laboratories, research facilities, and manufacturing processes. This process is fundamental in guaranteeing both the integrity of experimental results and compliance with regulatory requirements. Below, we provide a detailed guide to calibrating an analytical balance, including essential procedures, considerations, and key facts.

Why Calibration Matters
Analytical balances are high-precision instruments designed to measure small mass changes with incredible sensitivity. Over time, various factors, such as environmental conditions, mechanical wear, and handling, can affect their accuracy. Regular calibration ensures proper functioning and alignment with industry standards, reducing the risk of measurement errors that could compromise experiments, formulations, or manufacturing processes.
Step-by-Step Guide to Calibrate an Analytical Balance
Calibrating an analytical balance involves meticulous steps to verify and adjust the device’s accuracy. Follow these instructions to perform calibration effectively:
1. Prepare the Balance and Workspace
- Check the environment: Place the analytical balance on a stable, vibration-free surface in an area shielded from airflow, temperature fluctuations, and humidity. These factors can influence the balance’s readings.
- Allow warm-up time: Many analytical balances require a warm-up period after being turned on to ensure temperature stabilization.
- Clean the balance: Ensure the weighing pan and surrounding area are free of dust, debris, and residues, as these can interfere with readings.
2. Review the Calibration Requirements
- Understand whether your balance supports internal calibration (in-built mechanism) or requires external calibration (using certified weights).
- Have a set of calibration weights. These weights should conform to the International Organization of Legal Metrology (OIML) classification or ASTM standards. The accuracy class (e.g., Class E1, E2) depends on the precision of your balance.
3. Begin the Calibration Process
- Internal Calibration:
- Activate the internal calibration button or function on the balance interface.
- Follow the prompts displayed on the device. Typically, the internal mechanism adjusts the balance to a pre-set calibration weight.
- Confirm successful calibration once the display indicates completion.
- External Calibration:
- Place the certified calibration weight on the pan as prompted by the device. Start with a weight close to the balance’s maximum capacity for high accuracy.
- Allow the balance to stabilize, then record the displayed value. Compare it with the known weight.
- If discrepancies arise, use the balance’s adjustment settings or consult the user manual to make corrections.
- Repeat with weights of varying capacities across the balance’s range to verify consistency.
4. Verify Calibration
- After calibration, weigh a standard test object or reference material. The results should align closely with the known mass. If errors persist, repeat the process or consult a qualified service technician.
5. Document the Calibration
- Record the calibration process in a maintenance log, noting the date, weights used, and outcomes. Accurate documentation ensures traceability for audits or quality control checks.
Key Facts to Remember
-
Role of Calibration Weights:
- Calibration weights are fundamental to external calibration. Always handle these weights with gloves or tweezers to avoid contamination or scratches. Store them in designated cases to maintain their precision over time.
-
Environmental Factors:
- Analytical balances are highly sensitive to environmental changes. Factors such as temperature gradients, air currents, static electricity, and vibrations can influence their accuracy. Use anti-static mats and draft shields to minimize these effects.
-
Frequency of Calibration:
- Routine calibration is critical. The frequency depends on the balance’s usage, sensitivity, and operational requirements. For laboratory balances, calibrate daily or before critical tasks. Industrial applications may require calibration weekly or monthly.
- Recalibrate the balance after any major relocation, exposure to environmental changes, or prolonged periods of inactivity.
-
Regulatory Compliance:
- Many industries operate under strict guidelines, such as ISO/IEC 17025 standards, which mandate regular calibration and traceable measurement procedures. Properly calibrated balances ensure compliance and mitigate risks during audits.
Common Mistakes to Avoid
- Skipping warm-up: Failing to allow the balance to stabilize can result in measurement drift.
- Using incorrect weights: Always use certified weights that meet the required tolerance level.
- Ignoring adjustments: Calibration without correcting deviations is ineffective.
- Neglecting documentation: Keeping a proper calibration log is essential for traceability and quality control purposes.
Final Thoughts
Calibrating an analytical balance is not just a routine maintenance task; it’s a critical step in achieving consistent and reliable results. Whether you’re working in pharmaceuticals, chemical analysis, or materials testing, accurate measurements form the backbone of your processes. By following the proper calibration techniques and adhering to best practices, you can optimize the performance of your analytical balance and maintain the high standards demanded by your field.