Analytical balances play a critical role in laboratories, pharmaceutical industries, and various scientific settings where precise weight measurement is essential. These delicate instruments are designed to measure masses with exceptional accuracy, often down to 0.0001 grams. However, using an analytical balance requires specific steps to ensure accuracy and reliability. Errors can lead to flawed experiments, regulatory issues, or compromised product quality.
This article provides a comprehensive, step-by-step guide for using an analytical balance properly, along with expert tips to optimize your weighing processes.
Why Proper Usage of Analytical Balances Matters
Precision instruments require careful handling to function optimally. Factors like environmental disturbances, improper handling, or inadequate calibration can lead to errors. Following systematic steps ensures reliable data in scientific and industrial applications.
Now, let’s break the process into manageable steps.
Step 1: Preparing the Analytical Balance
Preparation is crucial for obtaining accurate results. Before you even touch the balance, ensure the following conditions are met:
A. Choose the Right Location
- Place the balance on a stable, vibration-free surface. A dedicated weighing table is ideal.
- Avoid areas with heavy foot traffic, air vents, or temperature fluctuations.
- Use anti-vibration pads or enclosures if needed.
B. Warm-Up the Balance
Some analytical balances require a warm-up period to ensure internal stabilization. Refer to the manufacturer’s manual for specific guidance.
C. Clean the Balance
- Wipe the weighing pan with a lint-free cloth or a soft brush to remove dust or residue.
- Ensure there is no debris or liquid on or around the balance.
D. Level the Instrument
- Check the built-in leveling bubble (or spirit level) located near the display or base of the balance.
- Adjust the leveling feet until the bubble is centered.
Example: Imagine you’re setting up your balance in a laboratory. Without stabilizing it on a vibration-free surface, you may see weight fluctuations due to nearby movement. Correct preparation eliminates such inaccuracies.
Step 2: Calibrating the Analytical Balance
A. Internal vs External Calibration
Analytical balances often provide two calibration options, depending on the model:
- Internal Calibration: The balance uses an internal weight and calibrates itself with a press of a button.
- External Calibration: You’ll need standard calibration weights that are traceable to certified standards.
B. Steps for Calibration
- Ensure the balance is clean and leveled.
- Select the calibration mode from the balance menu.
- If using external calibration, place the standard weight onto the pan when prompted and follow on-screen instructions.
- Wait for the instrument to confirm successful calibration.
Tip: It’s advisable to calibrate before each use, especially when dealing with critical measurements. For example, failing to recalibrate after moving the balance can introduce errors.
Step 3: Weighing Step by Step
Accurate weighing requires careful execution, so follow these instructions meticulously:
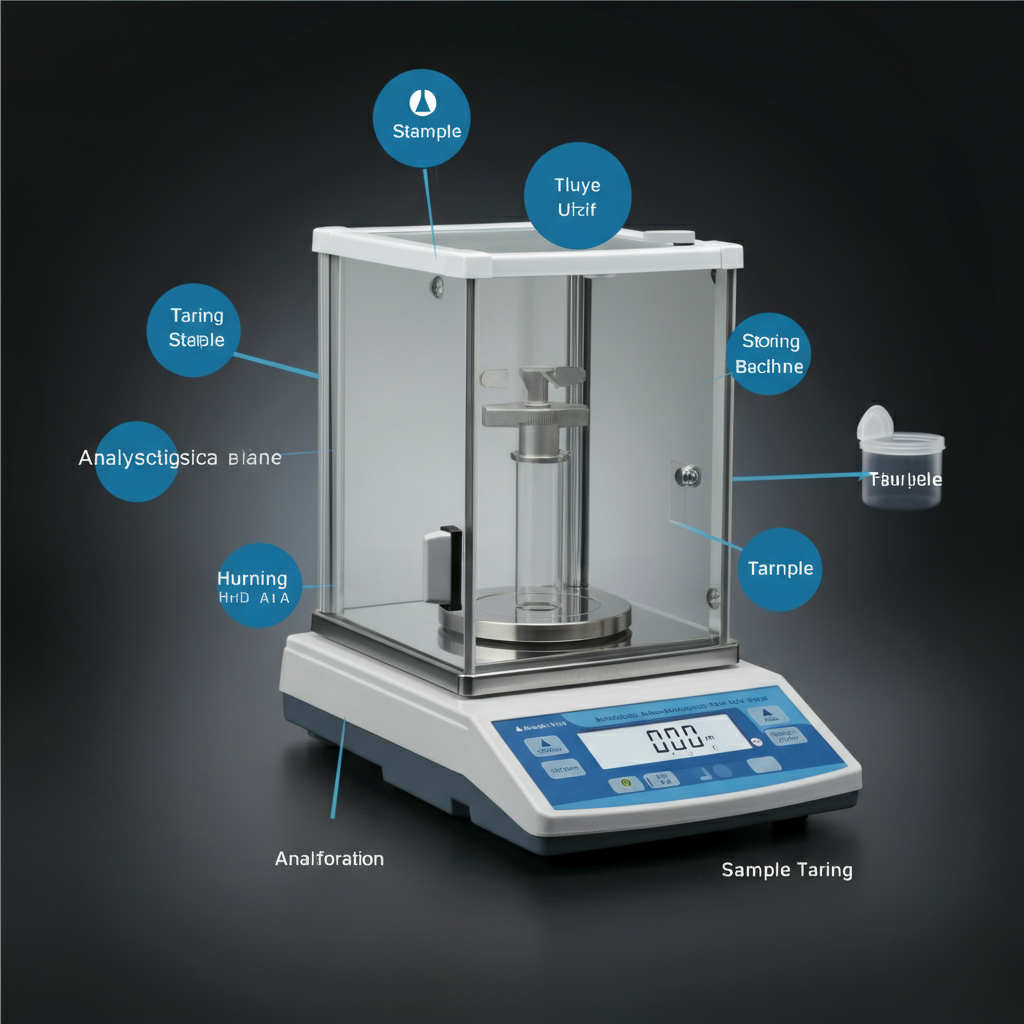
A. Taring the Balance
- Place the container or weighing paper on the pan.
- Press the “tare” button to reset the display to zero. This removes the container’s weight from your calculations.
B. Adding the Sample
- Slowly add the material to the container. Use a clean spatula if working with powders or solids to prevent contamination.
- Ensure the sample is properly distributed and does not fall off the container.
C. Record the Weight
- Once the display stabilizes (indicated by a steady reading), note the weight.
- For substances requiring stepwise additions, you can use the tare function between each step to measure incremental weights.
Example: A medical researcher weighing reagents for a sensitive solution must always wait for the scale to stabilize before recording the reading. Rushing this process can lead to inaccuracies.
Step 4: Best Practices During Weighing
- Minimize Air Currents: Use a balance enclosure or draft shield during measurement. Air currents can cause weight fluctuations.
- Handle Samples Properly: Wear gloves to prevent heat or moisture transfer onto the sample or container.
- Avoid Overloading the Pan: Never exceed the maximum capacity of the balance specified by the manufacturer.
Step 5: After Weighing – Maintenance
Taking care of the balance post-use ensures its longevity and consistent performance.
A. Clean After Use
- Remove any residual powder, spills, or liquid from the pan using a damp lint-free cloth.
- Pay attention to corners and joints where particles may accumulate.
B. Power Down Safely
Turn off the balance and cover it to prevent dust buildup.
C. Recalibrate Periodically
Even if a balance is idle for a long period, recalibrate before next use. This is particularly critical in regulated industries like pharmaceuticals or food production.
Example of Poor Maintenance: A technician neglecting to clean the weighing pan results in small particles affecting subsequent measurements, leading to cumulative inaccuracies. Proper cleaning prevents such issues.
Practical Tips for Optimal Use
- Use Consistent Containers: Always weigh substances in containers of similar weight and material to minimize variability.
- Weigh Away from Doors or Windows: An enclosed space ensures environmental stability.
- Allow Recovery Time: If you move or jostle the scale, give it time to stabilize again before measuring.
Final Thoughts
Using an analytical balance effectively is not just about pressing buttons; it’s about understanding the steps involved in preparation, calibration, accurate weighing, and maintenance. By mastering each step, you ensure your measurements are precise and reliable, meeting scientific and industrial standards.
Remember to always calibrate, maintain a stable environment, and handle the balance with care. Whether you’re a researcher, industry professional, or lab technician, accurate weighing starts with best practices.
For more insights on analytical balances, common errors to avoid, and troubleshooting tips, stay tuned to our comprehensive weighing resources!